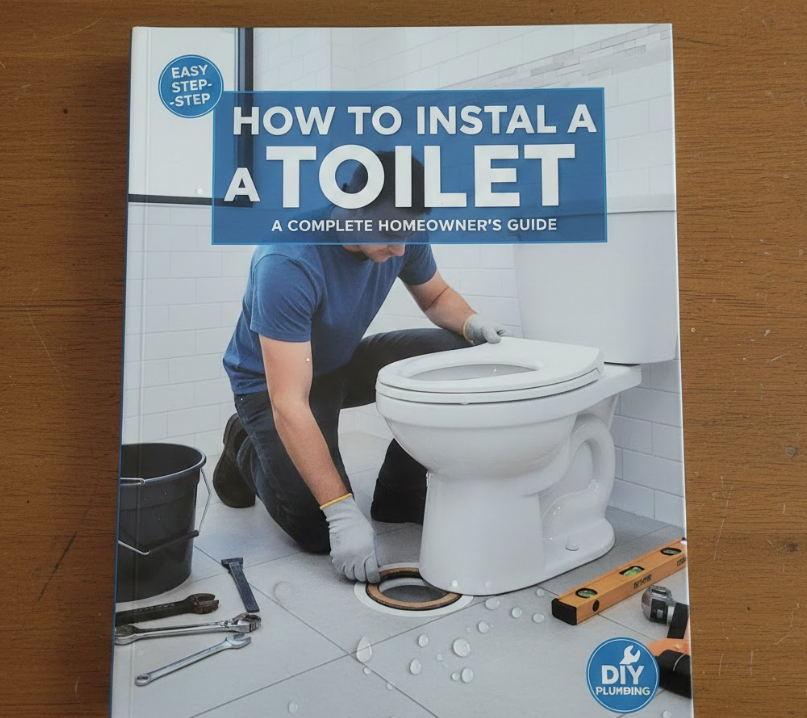
Learning how to install a toilet is one of the most valuable home improvement skills a homeowner can have. Whether you’re replacing an outdated unit, fixing a leaking base, remodeling a bathroom, or installing a toilet for the first time, understanding the process saves money and prevents costly plumbing mistakes. While the task may seem intimidating, modern toilets are designed for straightforward installation when done correctly.
This comprehensive guide explains how to install a toilet step by step, including the toilet flange, wax ring, toilet seat, and toilet paper holder. Drawing on professional plumbing practices, building-code standards, and real DIY experience, this article gives you clear, actionable guidance to achieve a secure, leak-free installation that lasts for years.
Why Proper Toilet Installation Matters
Incorrect toilet installation is one of the most common causes of bathroom water damage.
• Prevents hidden floor rot and mold growth
• Ensures proper waste flow and flushing efficiency
• Avoids sewer gas leaks into the home
• Protects flooring and subfloor materials
• Maintains bathroom hygiene and safety
• Extends the lifespan of plumbing components
A correctly installed toilet is not just functional—it protects your entire home.
Tools and Materials Needed Before You Start
Before learning how to install a toilet, gather all necessary tools to avoid mid-project delays.
• Adjustable wrench
• Screwdriver (flat and Phillips)
• Level
• Putty knife
• Toilet wax ring or rubber seal
• Toilet flange bolts
• Measuring tape
• Towels or rags
• Bucket
Having everything ready ensures a smoother, safer installation process.
How to Install a Toilet Flange

Understanding how to install a toilet flange is critical because the flange connects the toilet to the drainpipe and anchors it to the floor.
What a Toilet Flange Does
A toilet flange is a circular fitting that sits on top of the drainpipe and beneath the toilet base. It ensures a watertight connection and keeps the toilet firmly secured to the floor. A poorly installed flange leads to leaks, wobbling, and sewer gas odors.
Detailed Toilet Flange Installation Process
• Inspect the Drain Pipe and Floor Opening
Ensure the drain pipe is clean, round, and unobstructed. The flange must sit flush on the finished floor—not below it—to maintain a proper seal.
• Position the Flange Correctly
Align the flange slots parallel to the wall behind the toilet. This ensures the toilet bolts line up correctly during installation.
• Secure the Flange to the Floor
Use corrosion-resistant screws to anchor the flange firmly into the subfloor. A loose flange compromises the entire installation.
• Check Flange Height
The flange should sit about ¼ inch above the finished floor. Too low causes leaks; too high prevents proper seating.
• Install Closet Bolts
Slide the bolts into the flange slots and secure them upright using washers or bolt retainers.
• Verify Stability
A properly installed flange should not flex, rock, or shift under pressure.
Also Read:- How to Cut a Bell Pepper: A Complete Step-by-Step Guide
How to Install a Toilet Wax Ring
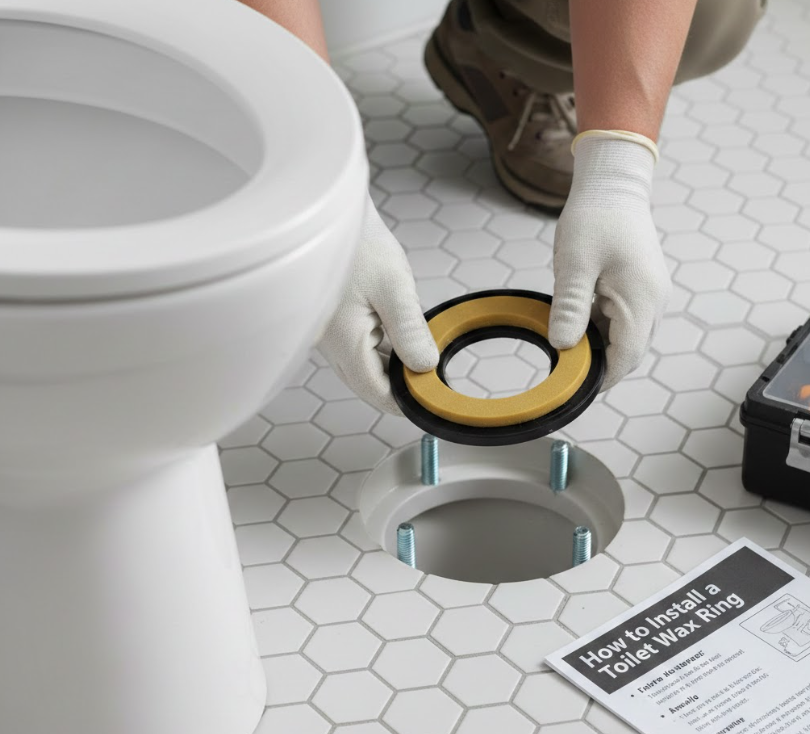
Learning how to install a toilet wax ring correctly is essential for preventing leaks and odors.
Purpose of the Toilet Wax Ring
The wax ring creates a watertight and airtight seal between the toilet outlet and the flange. Once compressed, it cannot be reused, making precision critical.
Correct Wax Ring Installation Steps
• Choose the Right Wax Ring Type
Standard wax rings work for most installs, while extra-thick or wax-free rings are ideal for uneven floors.
• Ensure the Flange Is Clean
Remove old wax completely using a putty knife. Residual wax prevents proper sealing.
• Position the Wax Ring Carefully
Place the ring either on the flange or on the toilet outlet—never both. Centering is crucial.
• Lower the Toilet Straight Down
Avoid twisting or sliding the toilet, which can damage the wax seal.
• Apply Even Downward Pressure
Press firmly to compress the wax evenly without cracking the porcelain.
• Do Not Lift After Seating
Once compressed, lifting the toilet ruins the seal and requires a new wax ring.
Also Read:- How Long Does It Take for Paint to Dry: A Complete Guide for Every Surface
How to Install a Toilet (Main Toilet Installation)
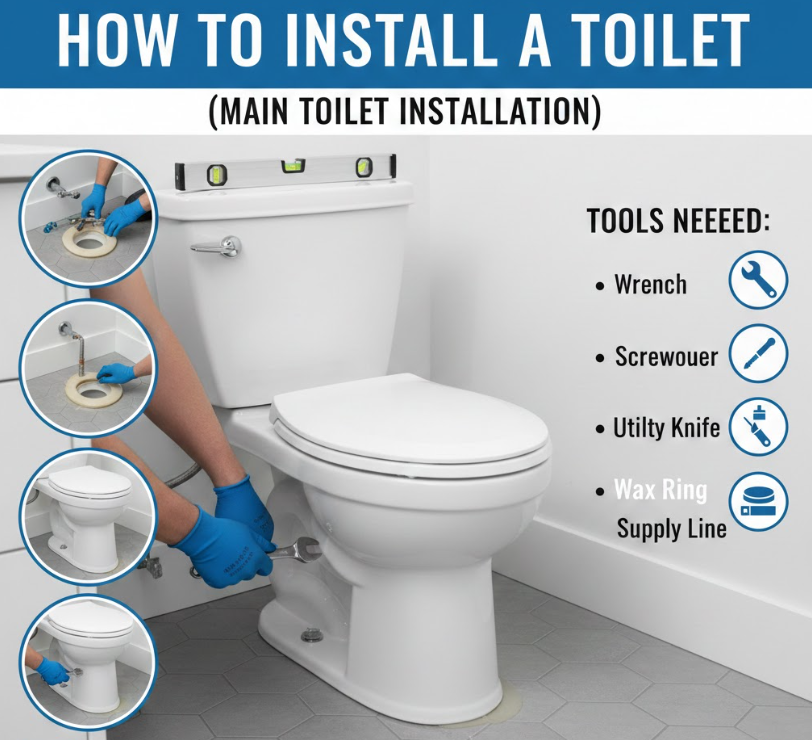
Now that the flange and wax ring are ready, it’s time to complete the core task: how to install a toilet securely and correctly.
Understanding the Main Toilet Installation
This step combines alignment, sealing, and fastening. Precision matters more than strength—over-tightening can crack the toilet base.
Step-by-Step Toilet Installation Process
• Align the Toilet Over the Flange Bolts
Lower the toilet evenly so the bolts pass through the mounting holes.
• Check Level and Position
Use a level to confirm the toilet sits flat. Plastic shims can correct uneven floors.
• Secure the Toilet Bolts Gradually
Tighten each side alternately to maintain even pressure.
• Avoid Over-Tightening
Stop tightening once the toilet feels secure. Porcelain cracks easily.
• Connect the Water Supply Line
Attach the supply hose to the fill valve and shutoff valve securely.
• Test for Leaks Immediately
Turn on the water, flush several times, and inspect the base and connections.
Also Read:- Alaikas.com: Your Go-To Hub for General News and Information
How to Install a Toilet Seat
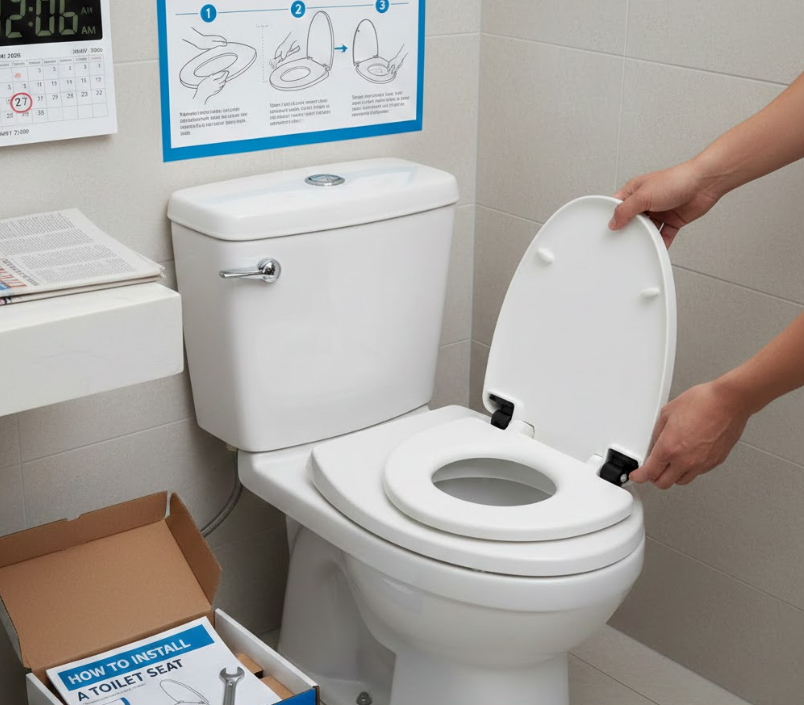
Knowing how to install a toilet seat ensures comfort, hygiene, and long-term usability.
Purpose of Proper Toilet Seat Installation
A properly installed toilet seat prevents shifting, reduces wear, and improves user comfort. Loose seats are a common annoyance and safety risk.
Toilet Seat Installation Best Practices
• Match the Seat to the Toilet Shape
Round and elongated bowls require different seat sizes.
• Align Seat Holes with Bowl Mounts
Correct alignment prevents uneven pressure and movement.
• Insert Mounting Bolts Properly
Use provided hardware to avoid corrosion and loosening.
• Tighten Securely but Gently
Over-tightening can crack plastic or ceramic components.
• Test Stability After Installation
Sit and shift slightly to confirm there is no movement.
• Choose Soft-Close or Quick-Release Options
These features improve convenience and cleaning.
How to Install a Toilet Paper Holder
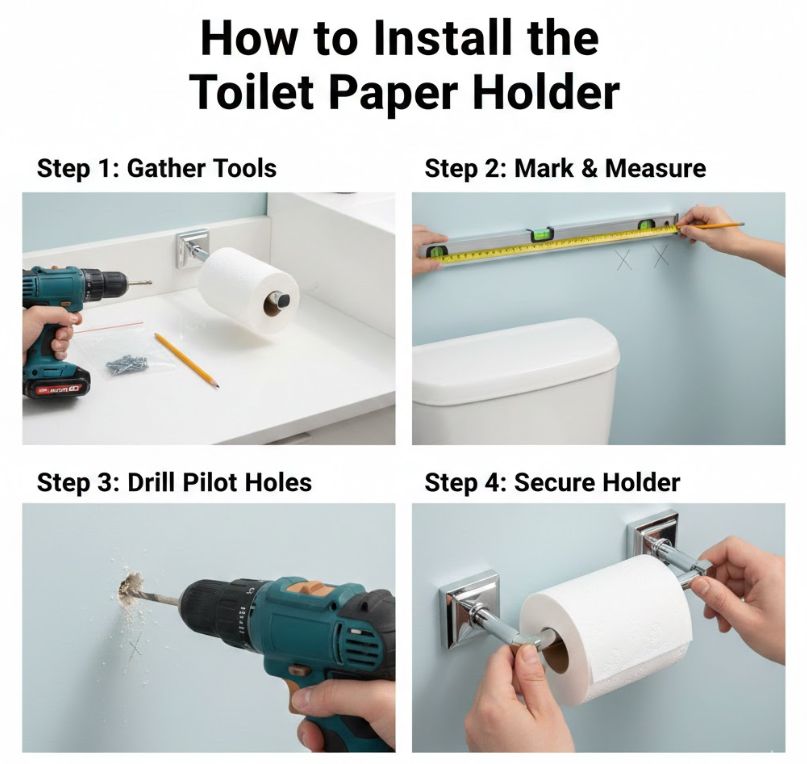
Learning how to install a toilet paper holder completes the bathroom setup and improves usability.
Why Placement Matters
Improper toilet paper holder placement causes inconvenience and wall damage. Correct height and distance improve comfort and accessibility.
Toilet Paper Holder Installation Guide
• Determine Ideal Placement
Standard height is 26 inches from the floor and 8–12 inches from the toilet bowl.
• Check Wall Type
Drywall, tile, and plaster require different anchors.
• Mark and Level Mounting Points
Accurate leveling prevents crooked installation.
• Drill Pilot Holes Carefully
Use tile-safe bits when drilling through ceramic surfaces.
• Install Anchors if Needed
Anchors prevent loosening over time.
• Secure Holder and Test Stability
Ensure the holder rotates smoothly without wobble.
Common Toilet Installation Mistakes to Avoid
• Installing flange below floor level
• Reusing old wax rings
• Over-tightening toilet bolts
• Ignoring uneven flooring
• Skipping leak tests
• Installing accessories without anchors
Avoiding these mistakes prevents expensive repairs.
Conclusion
Learning how to install a toilet empowers homeowners to handle one of the most important bathroom upgrades with confidence. From installing the toilet flange and wax ring to securing the seat and paper holder, each step plays a vital role in creating a safe, leak-free, and long-lasting installation.
With patience, proper tools, and attention to detail, installing a toilet is a highly achievable DIY project that saves money and protects your home. Done correctly, it delivers years of reliable performance and peace of mind
FAQs
How long does it take to install a toilet?
Most installations take 1–2 hours for experienced DIYers.
Do I need a plumber to install a toilet?
Not usually, but complex plumbing issues may require professional help.
Can I install a toilet on my own?
Yes, with basic tools and careful attention to instructions.
Should I caulk around the toilet base?
Yes, leaving a small gap at the back for leak detection is recommended
For More Visit Alaikas.com