If you’ve ever searched for how to draw a car, you’re likely looking for a clear, structured method that makes the process simple and enjoyable. Cars are one of the most popular drawing subjects for beginners, kids, and even advanced artists. Their familiar shapes, clean lines, and strong structure make them ideal for learning perspective, proportion, and shading.
Drawing a car combines basic geometry with creative design. From sketching a simple cartoon vehicle to illustrating a realistic sports car or even a dramatic crash scene, understanding foundational shapes makes the process manageable. Art education experts from institutions such as Rhode Island School of Design emphasize that complex objects can be broken down into simple geometric forms. This principle is key when learning how to draw a car step by step.
This comprehensive 3,000-word guide explains how to draw a car easy, how to draw a car step by step, how to draw a car crash, and how to draw a car for kids. Whether you are a beginner artist, parent teaching a child, or hobbyist improving your sketching skills, this resource provides actionable instructions and professional drawing insights.
How to Draw a Car Easy
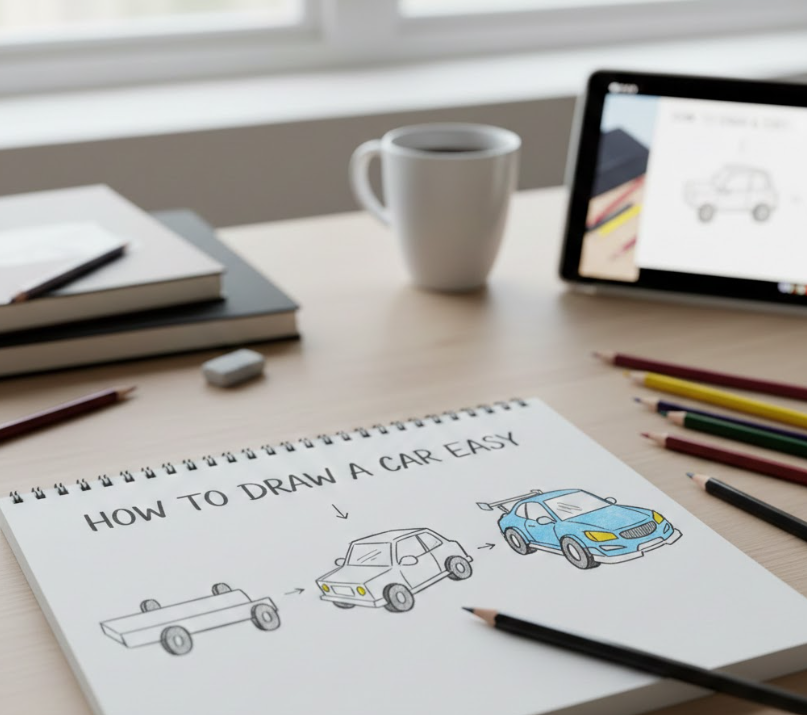
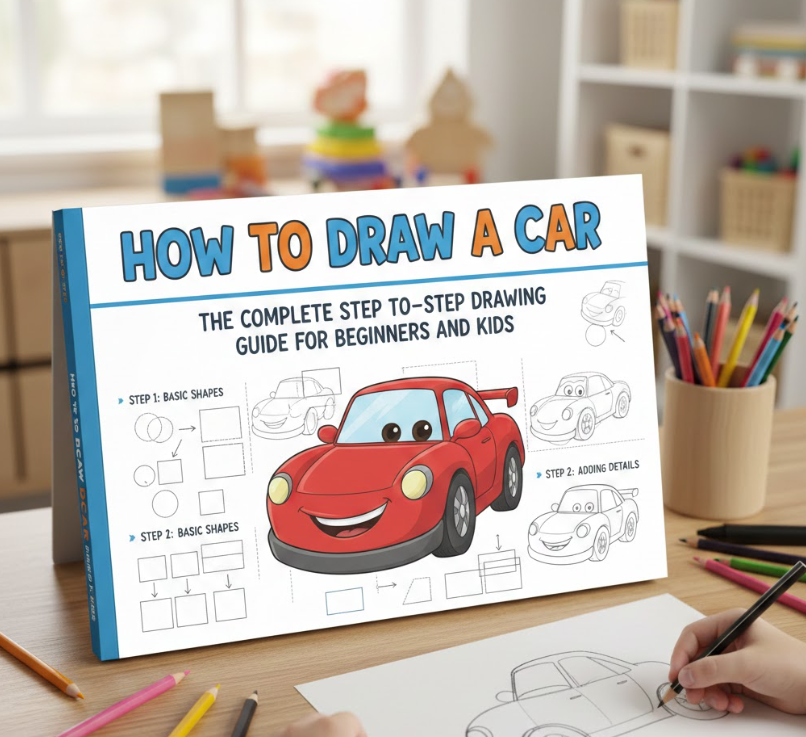
When beginners search for how to draw a car easy, they need a simplified structure that avoids overwhelming details. The easiest method focuses on basic shapes: rectangles, circles, and curved lines. By starting with these foundational forms, anyone can create a recognizable car without advanced perspective knowledge.
Professional illustrators often begin with light pencil guidelines. This approach ensures that proportions stay balanced before committing to darker outlines. Keeping the sketch loose in the early stage allows easy correction.
Easy Step-by-Step Method
• Draw a long horizontal rectangle for the car body.
• Add two equal circles underneath for wheels.
• Sketch a smaller rectangle on top for windows.
• Curve the front and back edges slightly for realism.
• Add simple lines for doors and headlights.
• Outline the shape with darker pencil.
• Erase guidelines and refine details.
Tips for Beginners
• Use HB pencil for sketching and 2B for shading.
• Keep proportions balanced—wheels should be aligned.
• Don’t press too hard during initial lines.
• Practice symmetry by lightly marking center points.
Also Read:-How to Cook White Rice: The Complete Step-by-Step Guide for Perfect Results
How to Draw a Car Step by Step
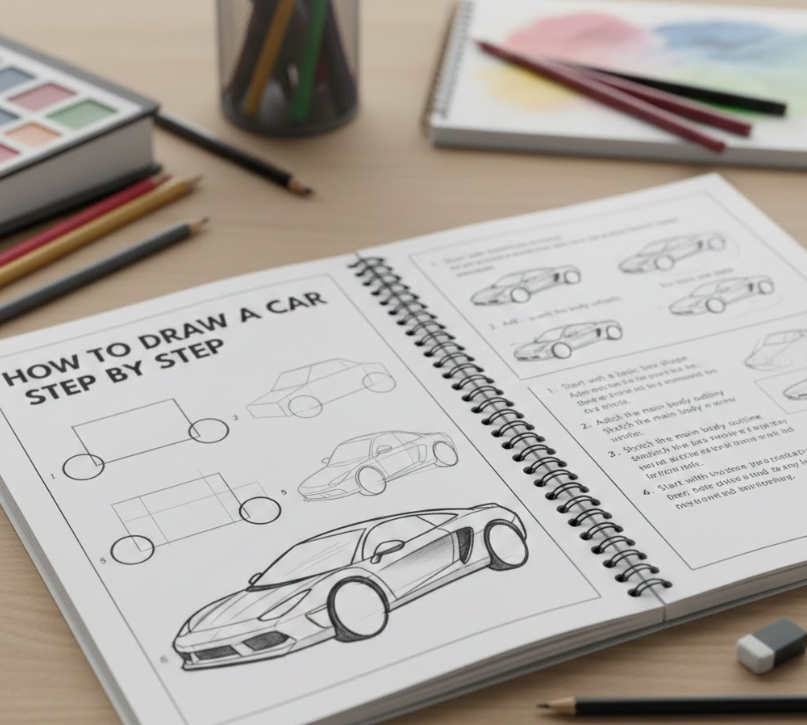
Learning how to draw a car step by step introduces depth and realism. Cars are three-dimensional objects, so perspective plays an important role. Even simple sketches benefit from understanding how lines converge and how shapes overlap.
Artists frequently use a “box method,” drawing a 3D rectangular prism first. This creates a base for accurate wheel placement, roof height, and front-to-back proportion.
Detailed Step-by-Step Instructions
• Draw a 3D box shape to represent the car’s main body.
• Divide the box into thirds to position wheels correctly.
• Sketch wheel circles touching the ground line.
• Shape the hood and trunk using curved lines.
• Draw windows following perspective angles.
• Add details like mirrors, door handles, and grill.
• Outline cleanly with darker pencil or pen.
• Add shading to create depth and realism.
Adding Realistic Details
• Shade under the car for shadow effect.
• Add reflections on windows using light pencil strokes.
• Create tire tread with subtle curved lines.
• Blend shading smoothly with tissue or blending stump.
Understanding light direction improves realism significantly.
Also Read:-How to Rent a Car: Comprehensive Guide for Modern Travelers
How to Draw a Car Crash
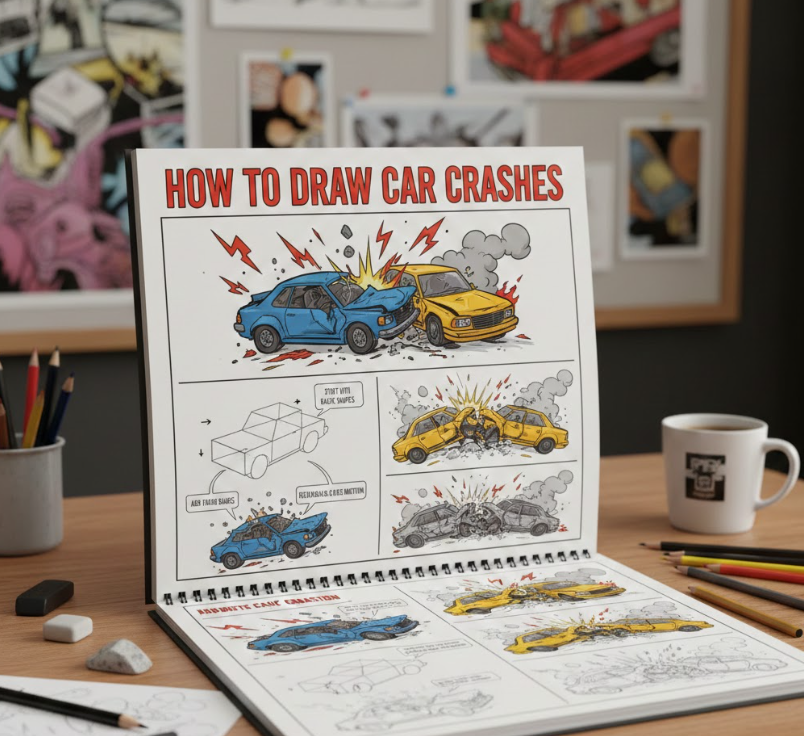
If you’re learning how to draw a car crash, the focus shifts from structure to motion and energy. Action scenes require dynamic angles, exaggerated lines, and visual storytelling. Unlike a static parked car, a crash illustration uses distortion and debris to convey impact.
Artists often tilt perspective lines slightly to create dramatic tension. Adding motion blur lines and flying fragments enhances realism.
Step-by-Step Crash Scene Guide
• Sketch the base shape of two cars colliding.
• Tilt one car slightly to show movement.
• Add jagged lines where impact occurs.
• Draw cracked windshield patterns.
• Include smoke clouds or dust around tires.
• Add flying debris and broken parts.
• Shade impact area darker for emphasis.
Enhancing the Dramatic Effect
• Use sharper lines at impact points.
• Darken shadows under vehicles.
• Add motion streaks behind tires.
• Draw bent metal edges for realism.
Action drawing improves storytelling skills and creative expression.
Also Read:- How to Make Slime: The Ultimate DIY Slime Guide for Beginners and Experts
How to Draw a Car for Kids
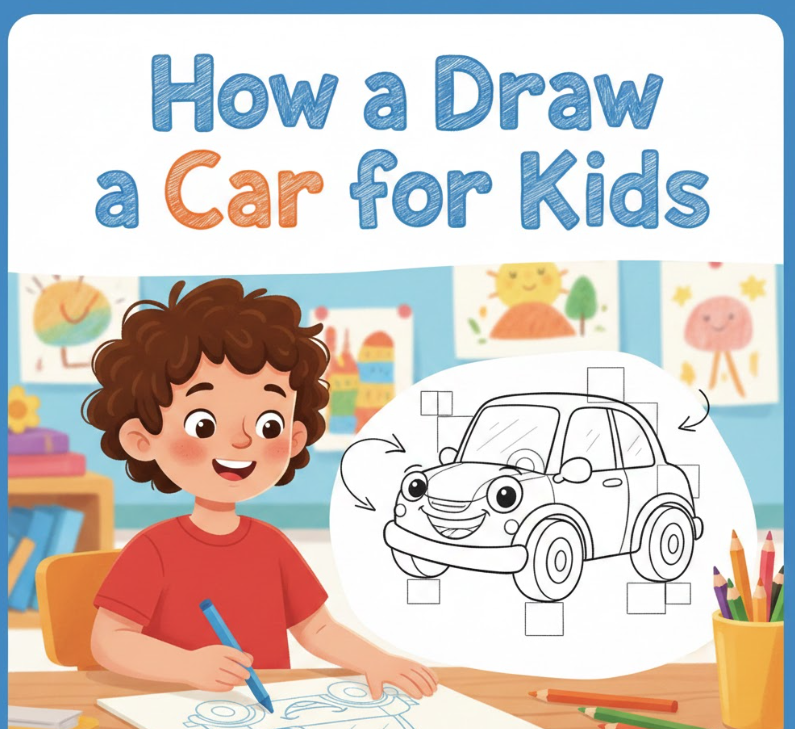
When teaching how to draw a car for kids, simplicity and enjoyment matter most. Children benefit from clear shapes and friendly designs rather than technical realism. Cartoon-style cars with smiling headlights and rounded shapes are ideal for young learners.
Educational art programs emphasize step-by-step repetition for skill building. According to child art development research from National Art Education Association, guided drawing enhances fine motor coordination.
Kid-Friendly Drawing Steps
• Draw a wide rectangle for body.
• Add two big circles for wheels.
• Sketch square windows on top.
• Draw curved smile line for grill.
• Add headlights as small circles.
• Outline with marker once finished.
• Color using crayons or markers.
Creative Additions for Kids
• Add racing stripes.
• Draw clouds and road background.
• Include a sun or traffic lights.
• Personalize with bright colors.
Encouraging creativity boosts confidence and enjoyment.
Also Read:- How to Strip Paint from Wood: The Complete Expert Guide for Safe, Effective Results
Tools and Materials for Drawing Cars
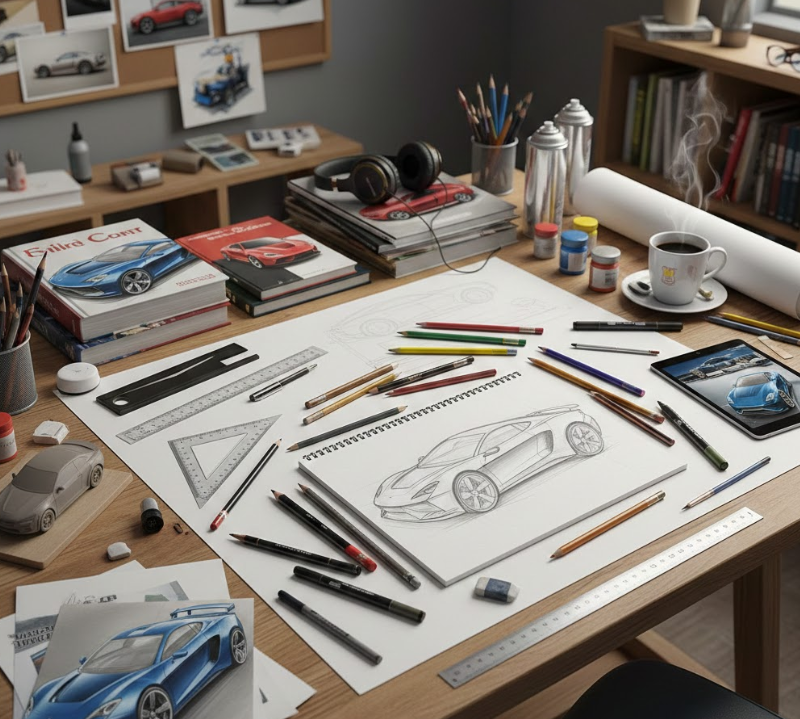
Essential Drawing Supplies
• HB and 2B pencils.
• Sketchbook or drawing paper.
• Eraser (kneaded preferred).
• Ruler for straight lines.
• Fine-tip black pen for outlining.
Optional Advanced Tools
• Colored pencils.
• Markers.
• Digital drawing tablet.
• Blending stumps.
Quality materials improve results but are not mandatory for beginners.
Understanding Perspective and Proportion
Perspective creates depth. Cars often use two-point perspective, where lines converge toward vanishing points. Learning this improves realism significantly.
Basic Perspective Tips
• Draw horizon line lightly.
• Angle front and back lines inward slightly.
• Keep wheels elliptical when viewed from angle.
• Ensure both wheels align on same ground plane.
Practicing perspective strengthens overall drawing skills.
Common Mistakes When Drawing a Car
• Wheels not aligned evenly.
• Windows too large or small.
• Ignoring perspective angles.
• Over-shading early in process.
• Pressing pencil too hard initially.
Avoiding these mistakes improves final outcome.
Also Read:- How to Strengthen Wrists: The Complete Expert Guide to Power, Stability, and Injury Prevention
Conclusion
Mastering how to draw a car is an enjoyable and rewarding artistic skill. Whether you’re aiming for an easy beginner sketch, a realistic step-by-step design, an action-packed crash scene, or a child-friendly drawing, the key lies in breaking the car into simple shapes and building gradually.
By understanding perspective, practicing consistent proportions, and refining shading techniques, you can transform a basic outline into a dynamic illustration. With patience and repetition, drawing cars becomes intuitive and creatively fulfilling.
FAQs
Is drawing a car hard for beginners?
No, starting with simple shapes makes it manageable.
What is the easiest car to draw?
A cartoon-style side-view car is easiest for beginners.
How do I make my car drawing look realistic?
Focus on perspective, shading, and wheel alignment.
Can kids learn to draw cars easily?
Yes, with guided step-by-step shapes and encouragement.
For More Visit Alaikas.com